Building DK7ZB's 144 MHz Yagi with a 3D Printer. Part 1
Archive post.
Translated from Ukrainian.
I felt like building a portable Yagi. A good and useful idea, I thought. But my attempt to build one the way everyone else does failed: the whole thing came out wobbly and unreliable. So I decided to pick up my 3D printer and print all the mounting parts myself instead of hunting the shops for something that would fit.
I went for a compromise: a boom that isn’t too long, but still gives some decent gain. So I chose one of the designs by radio amateur DK7ZB (Martin Steyer), specifically the 6-Element-2-m-50-Ohm-Yagi, Boom 200 cm (Type 1) version.
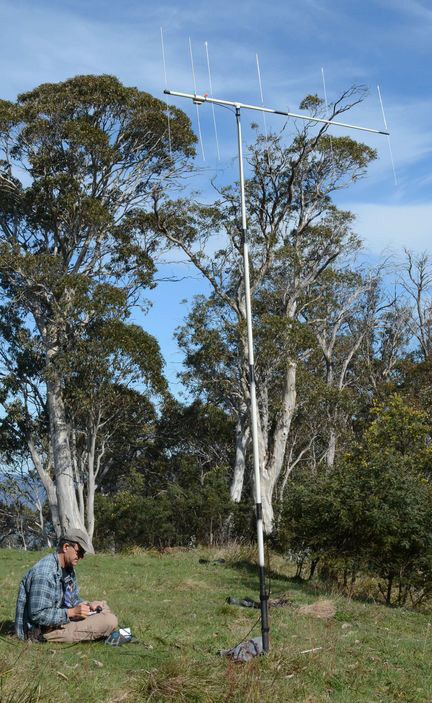
Here’s an example of this antenna, built by VK3PF:
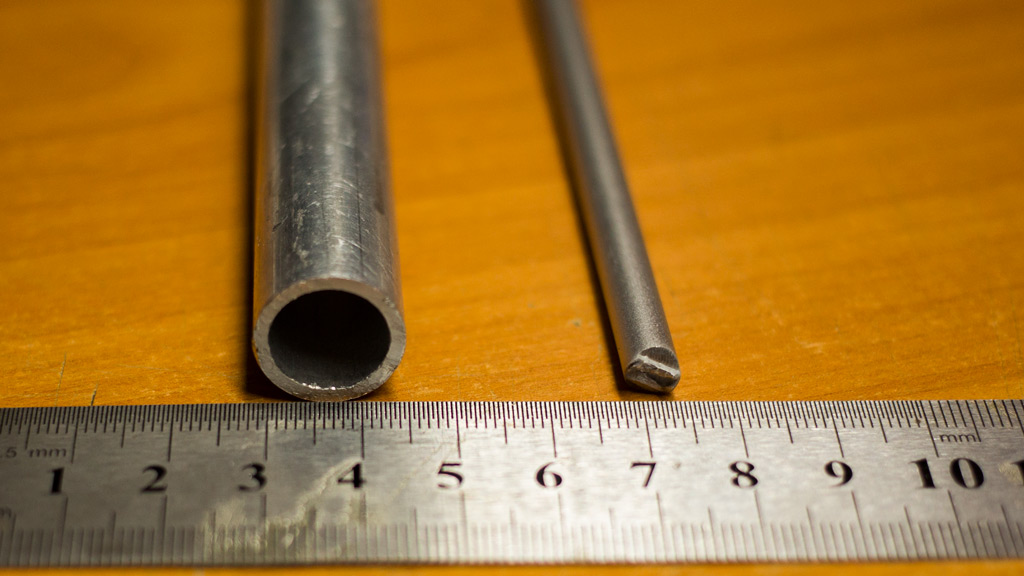
For the boom I used a 2-meter aluminum tube, 16 mm in diameter with 1.5 mm walls. For the directors, reflector and driven element, 6 mm rod (5 meters in total).
First, we model a holder for the directors and reflectors. Ideally a universal one for a 16 mm boom and 6 mm tubes. I did the modeling in Autodesk Fusion 360.
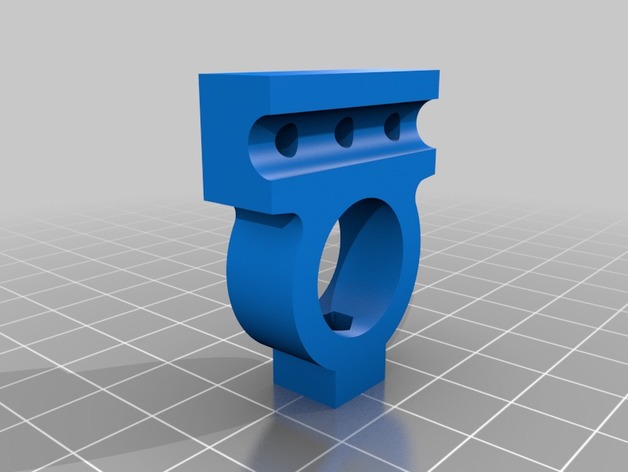
We export the model as STL to the slicer, which produces the layer-by-layer G-code for the 3D printer.
We print it in PLA, and here’s the result.
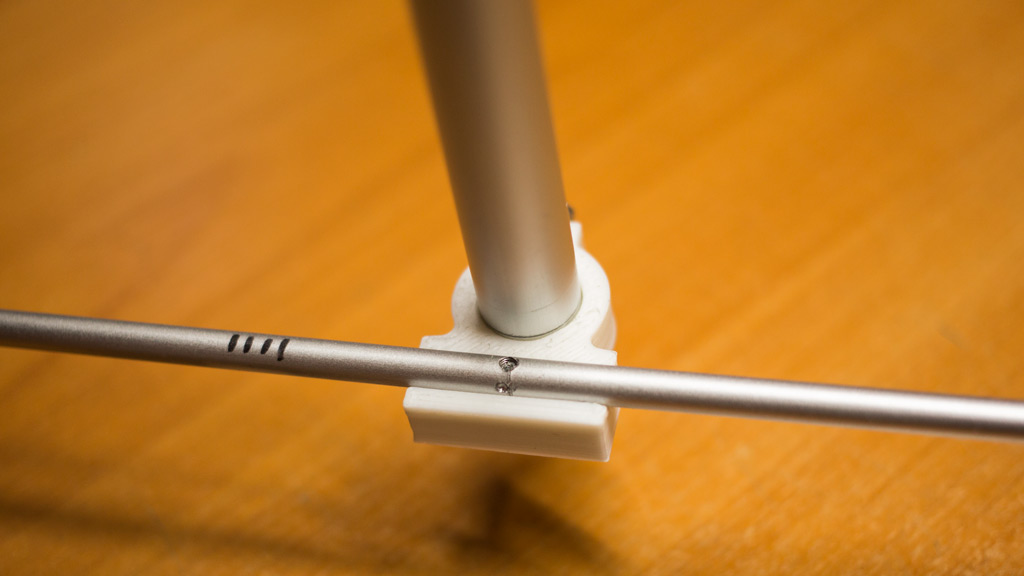
To hold the 6 mm tube, drill a hole in it with a 2.7 mm bit and tap an M3 thread. Then the rod can go into the holder and be fastened with a 15 mm M3 bolt. Press an M3 nut into the bottom of the holder; if it won’t go in, warm it up with a heat gun. Screw an M3 bolt into that nut: later, these are what will clamp the holder to the boom.
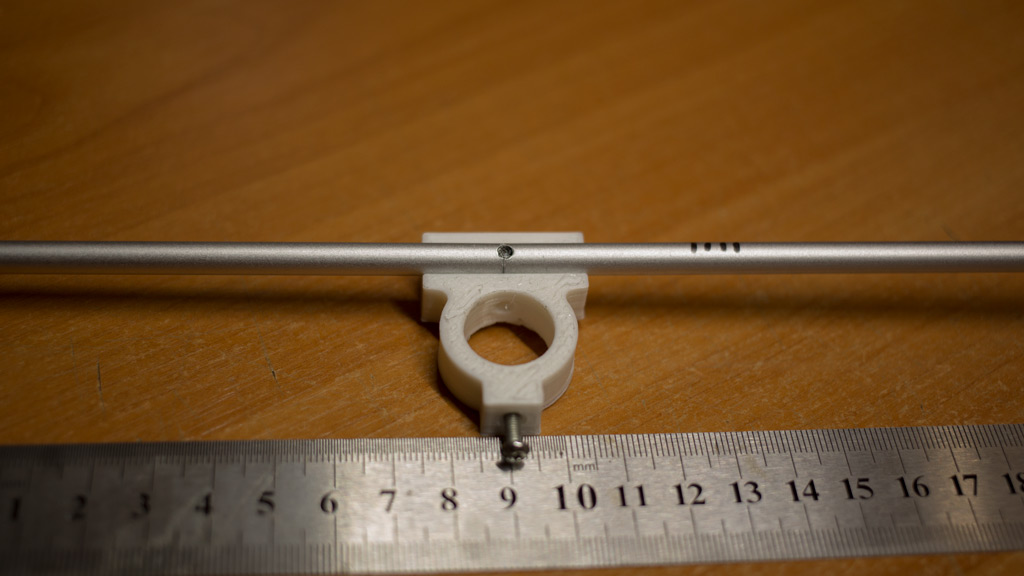
Mount this assembly on the boom. Conveniently, the center of the rod sits at the top surface of the holder, so there’s no need to calculate any offset from the director and reflector mounting points.
Since the antenna has to be portable, I decided to cut the two-meter boom in half and join the halves by screwing them onto a bolt, like a spear. For this, we print a part with a long M6 coupling nut pressed into it. Then the whole thing gets pressed into the boom tube, one into each of the one-meter halves. On one side, screw in an M6 bolt with red Loctite (or superglue) so it never comes loose.
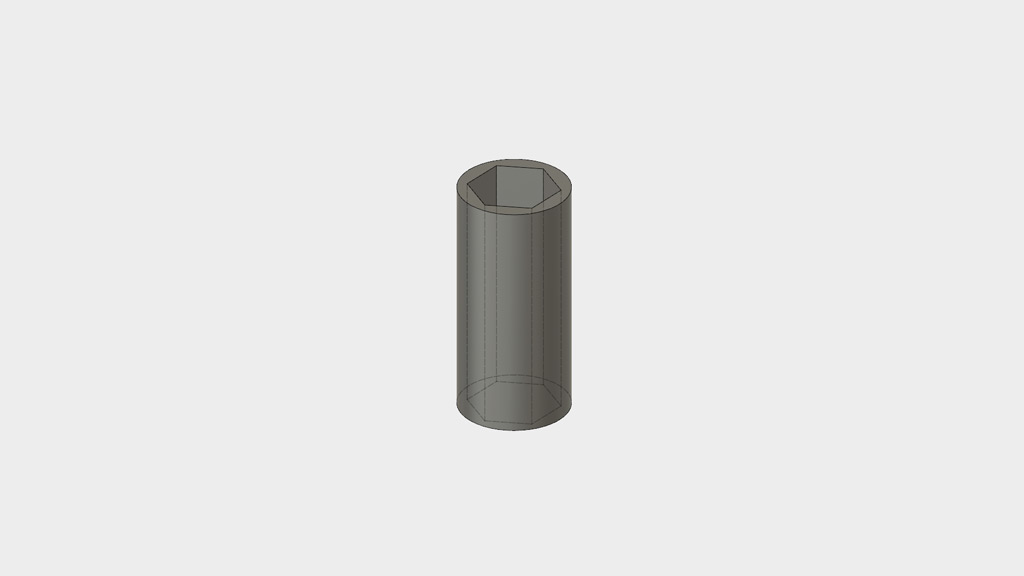
The result is this assembly:
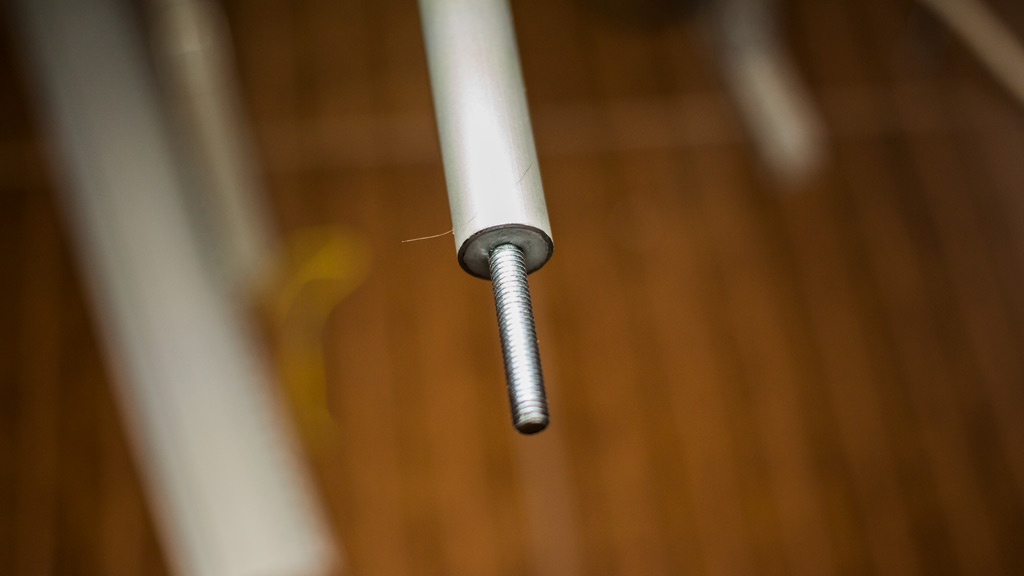
Later, though, after thinking about how the antenna would be mounted, I added a “lug” v0.1 at the boom joint, for a rope to run through to support the boom.
Coming up in the next parts:
- Making the driven element
- Testing the antenna